
How Roof Insurance Claims Work in Florida
Storm damage can turn a small roofing issue into a stressful insurance situation fast, especially when you are unsure how roof insurance claims work or what your policy actually covers. From missing shingles in Orlando to hail and wind damage in Daytona, many Florida homeowners lose time and money simply because they do not understand the roofing insurance process early on.
Knowing the right steps, documentation, and timing can make filing a roof insurance claim far smoother. This guide explains how the roof claim process in Florida typically works, what insurance adjusters look for during inspections, and how homeowners can avoid common delays while protecting their claim and repair costs.
Before Damage Strikes: Know Your Roof and Your Policy
Most homeowners in Orlando, Deltona, and Sanford do not look at their insurance policy until a storm damages the roof. That delay alone can slow down the entire roof claim process in Florida. Knowing what your policy covers before hurricane season makes filing a roof insurance claim far less stressful.
Start with your declarations page. This shows your deductible, coverage limits, and policy dates. Then check whether your policy pays Actual Cash Value (ACV) or Replacement Cost Value (RCV). ACV factors in roof age and depreciation, while RCV covers the cost of replacing the roof with similar new materials.
Also review exclusions carefully. Some policies limit coverage for older shingles, wear and tear, or previous repairs. After major storms in Daytona, Kissimmee, and Port Orange, insurers often compare weather history and prior roof condition during the roofing insurance process.
After major windstorms in Orlando or Daytona, adjusters often compare the claim against local weather reports and storm tracking data.
Understanding Roof Damage and Insurance Claims
Roof damage in Florida rarely comes from one single problem. In Orlando and Daytona, strong winds and heavy rain can lift shingles or cause leaks overnight. In places like Sanford and Port Orange, years of UV exposure and heat slowly weaken roofing materials until the next storm exposes the damage. Fallen branches, hail, aging shingles, and poor attic ventilation can all play a role in the roof claim process Florida homeowners deal with every year.
The stressful part is usually not the damage itself. It is the uncertainty after it happens. Understanding how roof insurance claims work, what adjusters inspect, and how the roofing insurance process moves from inspection to approval helps homeowners avoid delays, missed damage, and low settlements while protecting the value of their home.
Many insurers use weather history tools to verify hail dates and wind events during the roof claim process Florida homeowners deal with after storms.
Below is a simple step-by-step process of how roof insurance claims work in Florida, from the first inspection to final repair and settlement, so you know exactly what to expect at each stage.
Step 1: Assess and Document the Roof Damage Safely
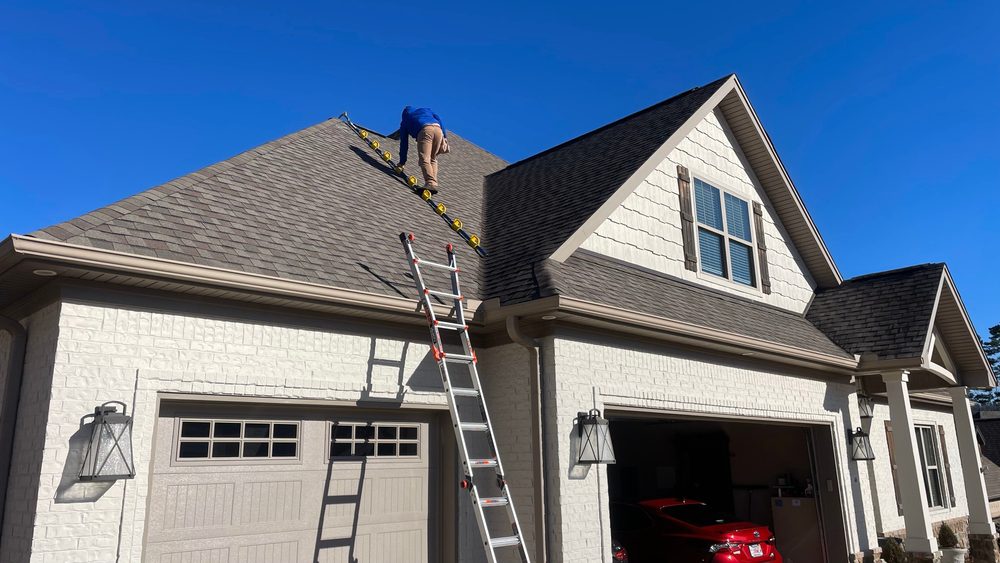
The first step in filing a roof insurance claim is documenting the damage properly. After storms in Orlando, Daytona, or Kissimmee, many homeowners rush onto the roof too quickly. Avoid that. Wet shingles, soft decking, and wind damage can make the roof dangerous even if the damage looks minor from below.
Start with a ground-level inspection using your phone camera, binoculars, or a drone. If the damage is severe, call a roofing professional to inspect it safely.
What to Document
- Missing or lifted shingles
- Hail dents and granule loss
- Damaged flashing or gutters
- Fallen tree or branch impact
- Water stains on ceilings or walls inside the home
- Damage to nearby property like fences or AC units
Take wide photos and close-ups from multiple angles. Make sure every image or video has a date and timestamp. This helps support your filing roof insurance claim paperwork later, especially if the insurance company reviews local storm history in Deltona, Sanford, or Port Orange.
Only make temporary emergency repairs before the inspection. Tarping a leaking area is usually fine if it prevents more interior damage. Keep all receipts and take photos before and after the temporary repair work.
Step 2: Review Your Homeowner’s Insurance Policy
Before calling the insurance company, spend a few minutes reviewing your policy. Many claim delays happen because homeowners do not know what their coverage actually includes.
Start with the declarations page. This outlines your deductible, policy limits, and coverage dates. Then review the sections tied to roof damage claims.
Key Policy Sections to Check
- Coverage A – Dwelling: This covers the roof structure and most storm-related roof damage.
- Coverage B – Other Structures: Applies to detached garages, sheds, or similar structures damaged during the same event.
- Coverage C – Personal Property: Helps cover interior belongings damaged by roof leaks.
- Exclusions: Most policies exclude wear and tear, neglect, poor workmanship, or older unrepaired damage.
- Deductibles: Florida policies may include separate hurricane deductibles, especially in coastal areas like Daytona or New Smyrna Beach.
- Understand ACV vs. RCV: This part matters more than most homeowners realize during the roofing insurance process.
Some insurers pay ACV first, then release the remaining amount after repairs are completed.
Also check your reporting deadline. Florida roof insurance policies often require prompt reporting after a storm. Waiting too long can create issues during the claim review process and may delay inspection or approval.
Step 3: Contact Your Insurance Company and File the Claim
Once the damage is documented, contact your insurer as soon as possible. Most companies let you start the claim by phone, through an app, online portal, or your local agent.
Have This Information Ready
- Policy number
- Date of the storm or damage
- Photos and videos
- Short description of the roof damage
- Your contact information
After filing, you will receive a claim number and an insurance adjuster roof claim inspection will usually be scheduled. In Florida, reporting delays after hurricanes or windstorms can sometimes affect coverage, so do not wait too long.
Keep a simple record of every call, email, inspection date, and contractor conversation during the roofing insurance process.
Step 4: The Insurance Adjuster Inspection
The adjuster’s job is to inspect the roof, confirm the cause of damage, and estimate repair costs based on your policy coverage. They typically look for:
- Wind or hail damage
- Missing shingles
- Roof leaks and interior water damage
- Signs of aging or wear and tear
- Measurements and repair scope
Try to be present during the inspection. Homeowners in Orlando, Sanford, and Deltona often miss important details simply because nobody points them out during the visit.
Share your photos, storm dates, and any damage you noticed inside or outside the home. Ask questions and take notes during the inspection process.
Step 5: Get Estimates from Reputable Roofing Contractors
Before approving repairs, get at least 2–3 estimates from licensed local roofing contractors. This helps you compare pricing, materials, and repair scope properly.
After major storms in Daytona or Port Orange, be careful with out-of-state “storm chaser” companies offering fast deals door to door.
A Good Roofing Estimate Should Include
- Tear-off and replacement details
- Underlayment and flashing
- Shingle type and manufacturer
- Labor and permit costs
- Cleanup and disposal
- Warranty information
Choose contractors with strong local reviews, active insurance, and experience handling filing roof insurance claim work.
Step 6: Review the Claim Settlement Carefully
Most insurance companies first issue an ACV payment, which is the roof’s depreciated value minus your deductible. The remaining recoverable depreciation is often paid later after repairs are completed.
Compare the insurance estimate line by line against your contractor’s estimate. Watch for:
- Missing repair items
- Low material allowances
- Incomplete labor costs
- Ventilation or flashing omissions
This is where many homeowners lose money during the roof claim process Florida insurers follow. Review everything carefully before signing off on the final settlement.
Step 7: Negotiating the Claim or Handling a Denial
If the insurance payout looks too low, do not accept it immediately. Compare the insurer’s estimate with your contractor’s scope of work and submit any missing damage photos, repair estimates, or inspection notes. In many Florida roof claim process cases, insurers may blame:
- Wear and tear
- Older roof age
- Poor maintenance
- Damage below deductible
You can request a re-inspection if important damage was missed during the insurance adjuster roof claim visit.
Roof inspectors may reference NOAA storm records or local weather activity when reviewing wind damage claims in Kissimmee or Sanford.
For larger or disputed claims in Orlando, Daytona, or Kissimmee, some homeowners hire a public adjuster. They work for you, not the insurance company, and usually charge a percentage of the final settlement. If your claim is denied:
- Request the denial in writing
- Review the exact reason carefully
- Gather more contractor evidence
- Follow the insurer’s appeal process
- Speak with a public adjuster or property claim attorney if needed
A denied claim does not always mean the process is over.
Step 8: Repair the Roof and Close Out the Claim
Once the claim is approved, choose a licensed roofing contractor with a strong local reputation and clear written pricing. Review the contract carefully before signing anything.
Be cautious with Assignment of Benefits (AOB) agreements. Some contracts give the roofing company control over parts of your insurance claim. During repairs:
- Keep photos of the work progress
- Save invoices and receipts
- Stay in contact with the contractor
- Confirm permits are properly closed
Many insurance payments in Florida are issued as two-party checks involving your mortgage company. This can add extra processing time before funds are released.
After the roof is completed, submit final invoices to the insurer, so recoverable depreciation can be paid and the roofing insurance process can officially close out.
Frequently Asked Questions
- How long does a roof claim take?
Most roofing insurance process timelines range from a few weeks to a few months depending on storm volume, inspections, and repair schedules.
- What if my contractor’s estimate is higher than the insurance payout?
This is common. Submit the contractor’s detailed estimate to the adjuster and ask for a review of missing items or low pricing.
- Can I hire a public adjuster?
Yes. Public adjusters represent homeowners during the roof claim process Florida residents go through after major storm damage. They usually charge a percentage of the settlement.
- What is a hurricane deductible?
Florida hurricane deductibles are often separate from standard deductibles and are usually based on a percentage of your home’s insured value.
- What is an Assignment of Benefits (AOB)?
An AOB allows a contractor to deal directly with your insurance company and collect payment. Review these agreements carefully before signing.
- What if the insurer says the roof damage is just wear and tear?
Request the denial in writing and provide additional evidence such as contractor inspections, storm dates, weather history, or independent assessments.